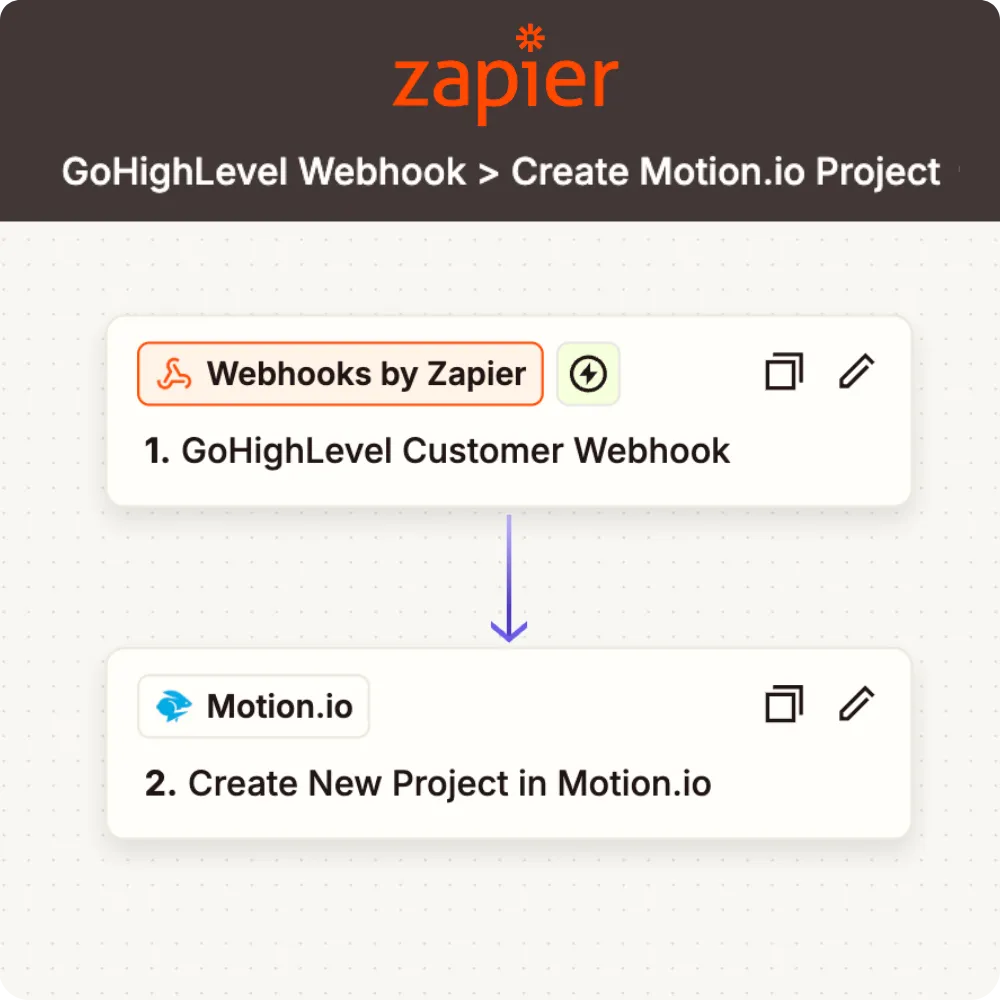
Zapier lets you connect Motion.io to 2,000+ other web services. Automated connections called Zaps, set up in minutes with no coding, can automate your day-to-day tasks and build workflows between apps that otherwise wouldn’t be possible.
In order to start creating Zaps that use Motion.io’s Trigger and Action options, you’ll first need to sign up for a free Zapier account and connect it Motion.io. The steps in this guide will walk you through that process.
After your Motion.io account is connected to Zapier, examples of Zaps you can set up include:
In your Zapier account, select “Apps” in the left-hand sidebar and click “Add Connection.”
In the window that opens, search for Motion.io.
Should you see multiple versions of Motion.io’s Zapier integration, select the version labeled “Latest.” When you do, a window requesting your Motion.io Team ID and API key will open. Leave this window open.
Log in to your Motion.io account and select “Settings” from the sidebar on the left.
In the top right corner, click “Zapier Settings.”
Copy your Team ID and Zapier API Key from the modal.
Paste your Motion.io Team ID plus your Zapier API Key into Zapier authentication window you left open in step #1.
After adding your Team ID and API Key to Zapier, click ‘”Yes, continue to Motion.io.”
And you’re done!
With your Motion.io account connected to Zapier, you can now being creating Zaps that utilize Motion.io’s Trigger and Action options and seamlessly integrate with 1000s of other software applications.